If there’s one thing that ThymeBase does well, it’s timelines. Our event planning software makes it a breeze, as you’ll soon see. But before you can create a timeline, you’ll need to create an event. Don’t worry, it’s super easy. Read how to create an event in ThymeBase.
Once you’ve got your event created, here’s how to build out your timeline.
Add A Timeline Item On Desktop
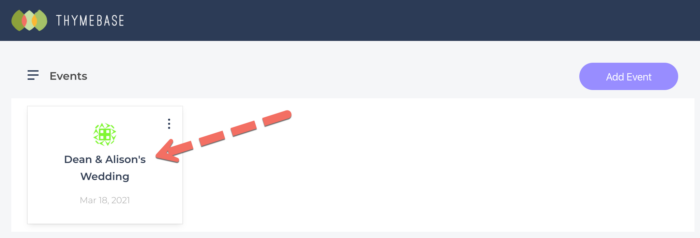
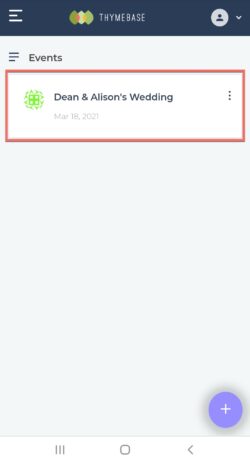
Step 1: Open the event
Click on the event for which you’d like to create an event timeline.
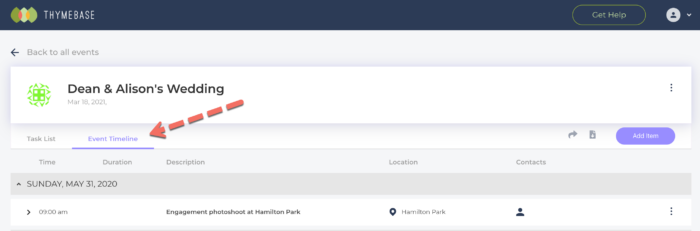
Step 2: Navigate to the timeline section of the event
Each event has a Task List and an Event Timeline. Just make sure you’re in the timeline area.
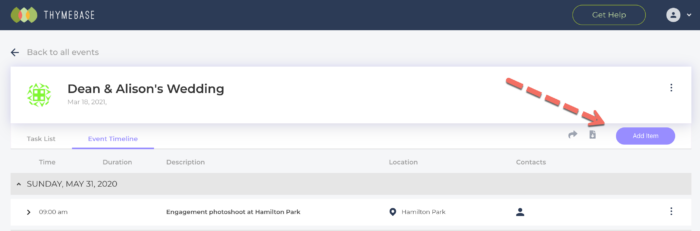
Then click the Add Item button on the upper right.
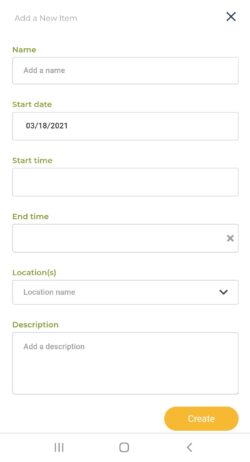
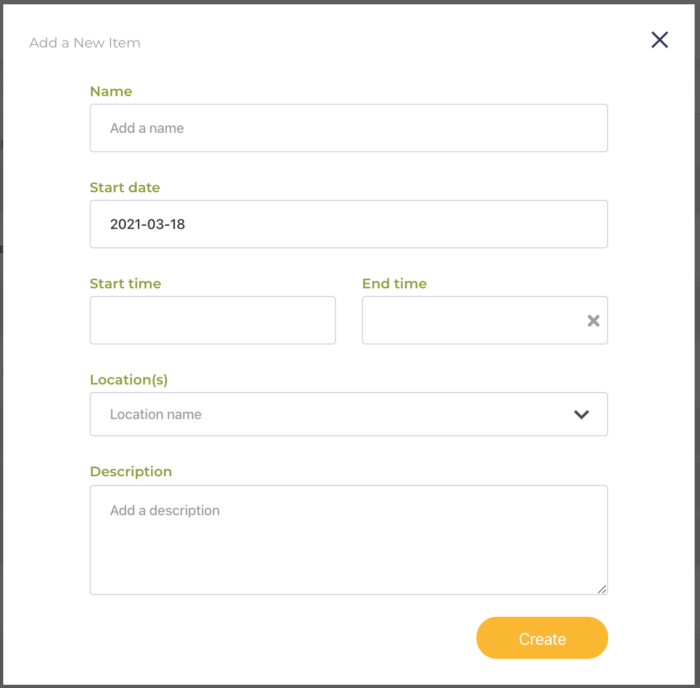
Step 3. Add The Timeline Item Details
Now it’s simply a matter of adding in any details needed. Everything is optional, except for the name, date and start time. Don’t worry if you’re missing any details. You can edit the tasks anytime.
Add A Timeline Item On Mobile
Step 1: Tap the event to open
Tap on the event for which you’d like to create an event timeline.
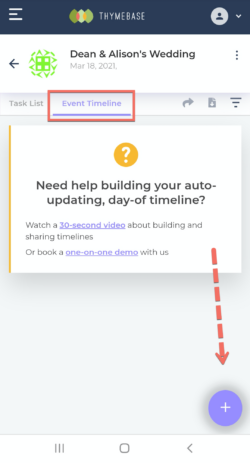
Step 2: Click the Add Item button
Each event has a Task List and an Event Timeline. Just make sure you’re in the Task List area and then tap on the + button on the lower right.
Step 3. Add The Timeline Item Details
Now it’s simply a matter of adding in any details needed. Everything is optional, except for the name, date and start time. The status is set automatically to “to do” but you can adjust this anytime.
Don’t worry if you’re missing any details. You can edit the tasks anytime.