ThymeBase’s timelines are pretty powerful. You can create detailed, multi-day event timelines and share them via PDF or with a link that updates immediately. And they’re collaborative! You can work on them with clients through the client portal or build together with your team.
And to make things easy, this article will run through the basics so you can get started with the timeline maker quickly.
Pro-Tip: ThymeBase is totally mobile-friendly, so you can also build timelines on the go.
Starting From Scratch, Or Using A Template
Did you know that you can use templates in ThymeBase? I’ll show you how in a sec, but first, let’s go over the very first step of creating a timeline.
Starting A Timeline From Scratch
When you click the Add Event button in your dashboard, you can begin planning events from scratch. And that means your timeline is a blank slate ready to be filled with memorable moments.
To create your first timeline item, click the Add Item button in the top right of the page.
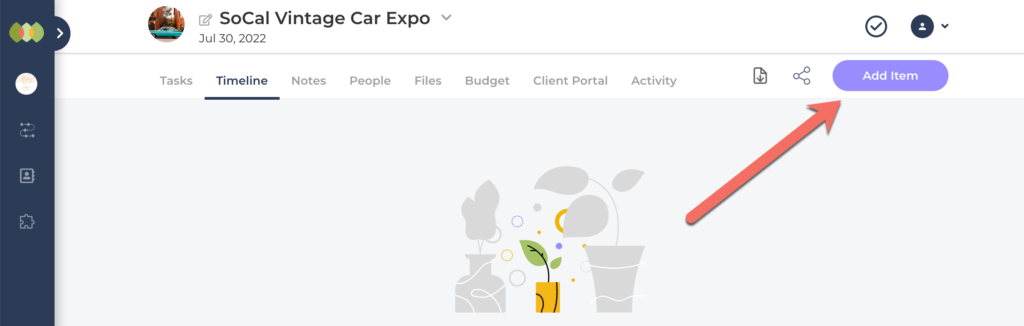
Then, just enter a name for the timeline item and click save. That’s it! But you can also add more details, including:
- Start & End Time
- Location
- Contact Person
- Description (more on this below)
- Files
- Links
Using A Timeline Template
You can also kick-off event planning with a timeline template. If you like to start with a framework, you can simply duplicate a past event (or saved template).
Pro-tip: Every ThymeBase account comes with a Wedding Template event, but we’ve got a whole library of templates. Just reach out and let us know what type of event you’re working on. We’ll add a template to your account.
Here’s how to use our template as the basis for your own event. From your event dashboard:
- Click on the kebab menu
- Select duplicate
- Enter the details of your new event

If you enter a new event date, ThymeBase can recalculate all your task due dates around the new event.
Learn more about duplicating an event.
Cool Things You Can Do In The Timeline
Drag to adjust times:
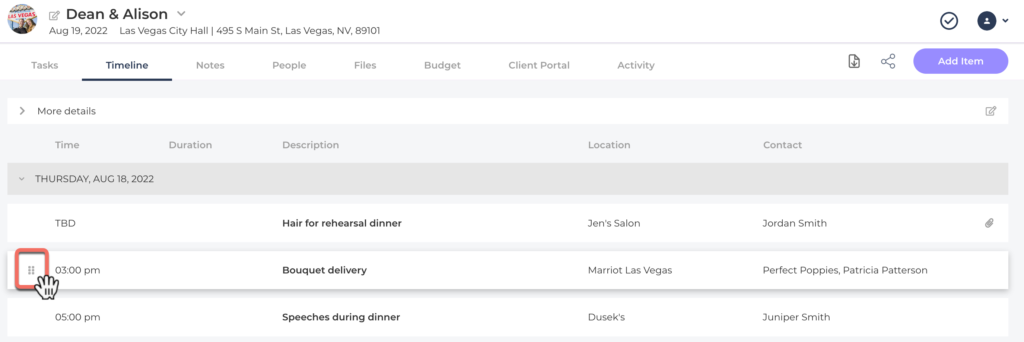
You can drag timeline items around to reorder them. As you drag, ThymeBase will automatically adjust the start time. To do this, hover your mouse over the timeline item and click the drag icon.
TBD Timeline Items:
There are two ways to make timeline items TBD. All you need to do is leave the start time blank or drag the item to the first spot of the day, and ThymeBase will flag it as TBD.
Multi-Day Timelines:
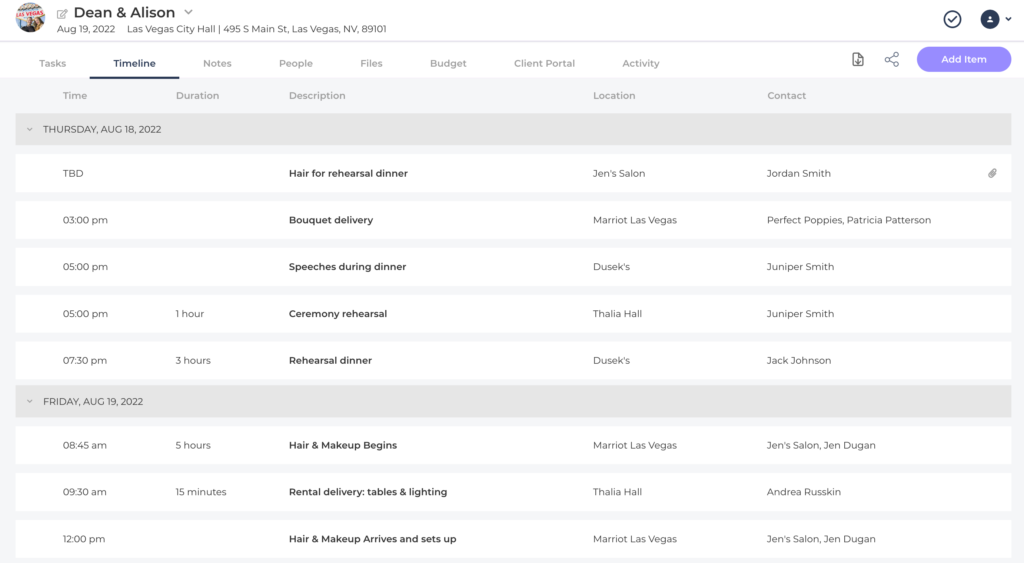
There’s no real trick to this. When you create a new timeline item, you can choose whatever date you’d like for it. ThymeBase will handle it just fine.
Shareable URL:
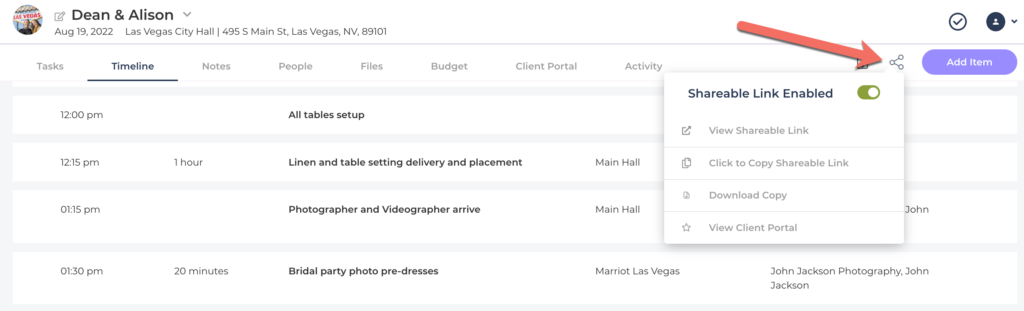
So you made a change? No worries. Each shared timeline has a unique URL that updates automatically. Share the timeline URL with clients and vendors, and they’ll only ever have the latest version.
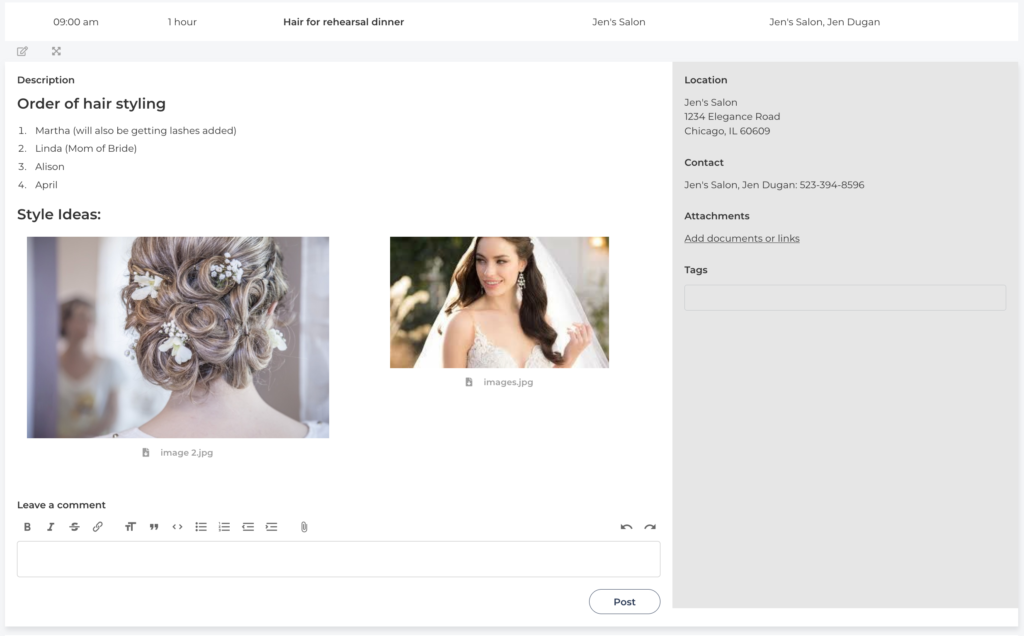
Rich Descriptions & Comments:
Here’s a fun one. Each timeline’s description area, as well as the comments area, is “rich.” That means that they can handle formatting like headings, bold, italics, lists, and more.
Pro-tip: Drag an image or any file into a description area. Files will be uploaded and pictures displayed.
PDF downloads:
Every timeline offers a one-click PDF export. Click the PDF icon on the top right of any page to export the latest version of your timeline.
Extra Details:
You can add notes and details above and below your timelines. Look for the link at the top and bottom of the timeline that says, ” Add information that displays below your timeline.” It’s the perfect place to add those important event notes that don’t fit inside specific timeline items.
Pro-tip: Many planners attach the floorplan, table layouts, and references here.
Comments:
You can use the comments under each timeline item to discuss the little details with your team and your client.
Note: Comments between you and your teammates won’t show in the client portal. Similarly, comments in the client portal don’t show in the main planner area. That way, you can keep internal conversations separate from client communication.
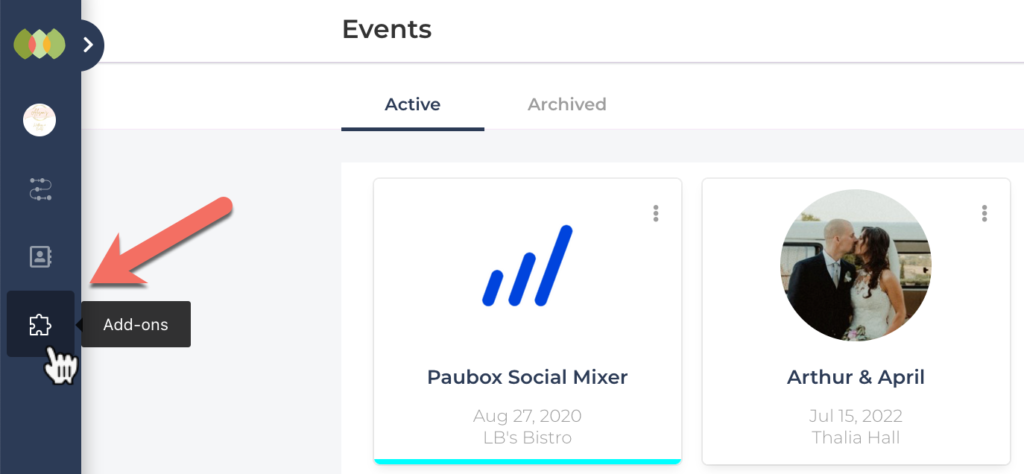
Branding:
You can brand your client portals too. Just visit the add-ons area in your ThymeBase account to upload your logo and set your color palette. You’ll find your add-ons area in the main account menu on the left-hand of any ThymeBase page.
And that’s our timeline maker crash course. If you ever have questions, get in touch.