Not every task is added to the client portal when you activate it. So, here are two methods to add tasks to the client portal.
When you activate your client portal in an event, you still have plenty of control over what your client can, and can’t see. In fact, you’ll need to specifically select which to-dos will be visible to your client. So, here’s how to add tasks to the client portal.
There are two ways to add tasks to the portal. Just follow the steps below.
Method 1: Add An Individual Task To The Client Portal
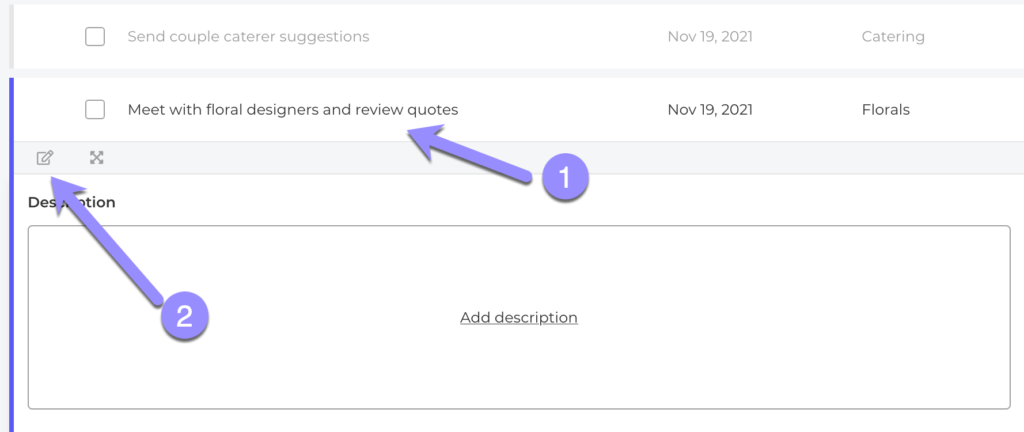
- Click on the task’s name to expand it.
- Click the edit button.
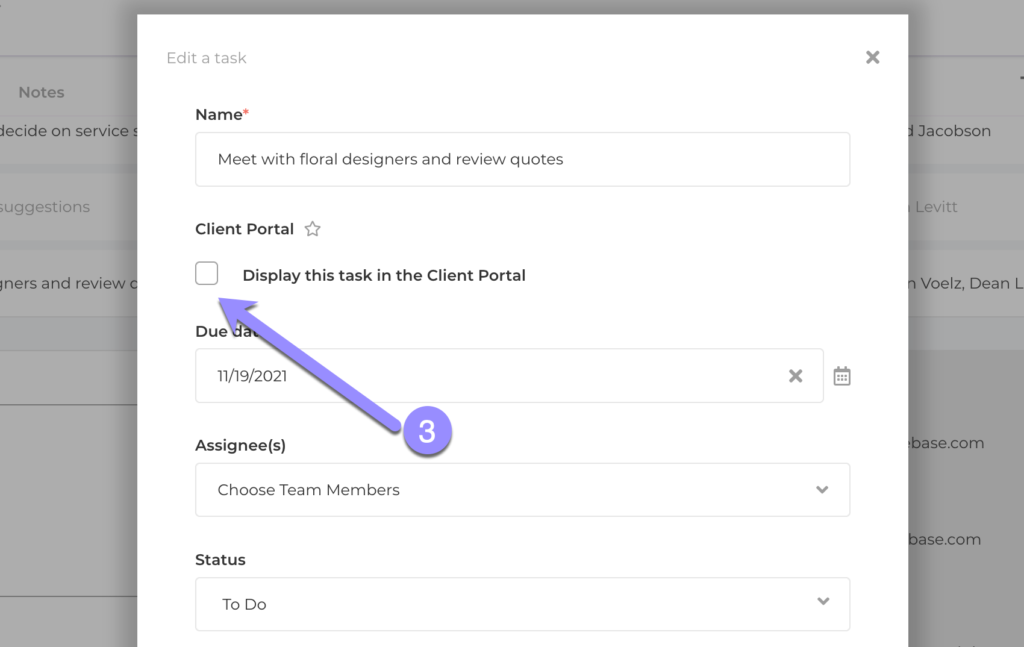
- Check the “Display this task in the Client Portal” box.
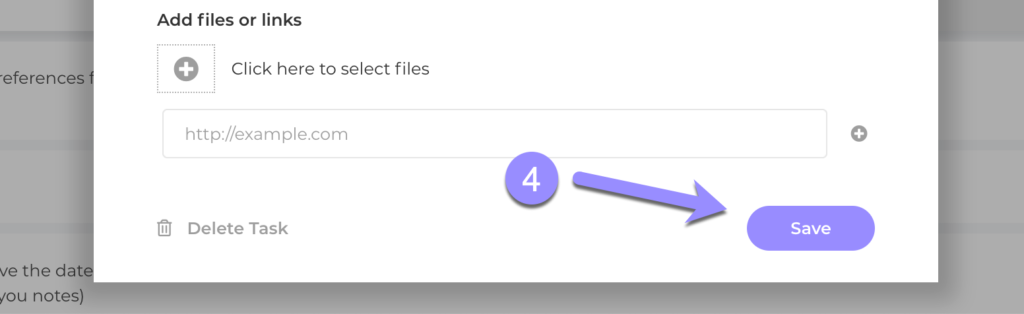
- Click the save button.
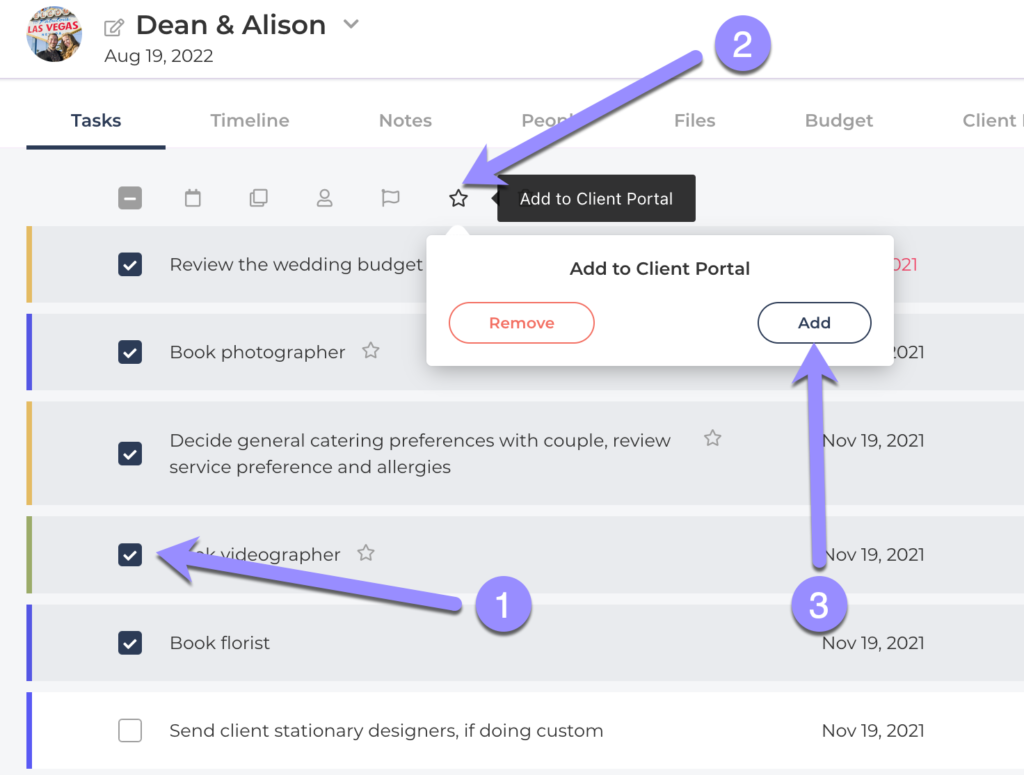
Method 2: Bulk Add Tasks To The Client Portal
This is the bulk edit method. You can use this to add multiple tasks to the client portal at the same time. It’s actually pretty easy and works just as well for single tasks too.
- Select which tasks you’d like to add to the client portal by checking their boxes in the task list.
- Click the star icon at the top of the task list. This is the client portal icon.
- Click the Add button.
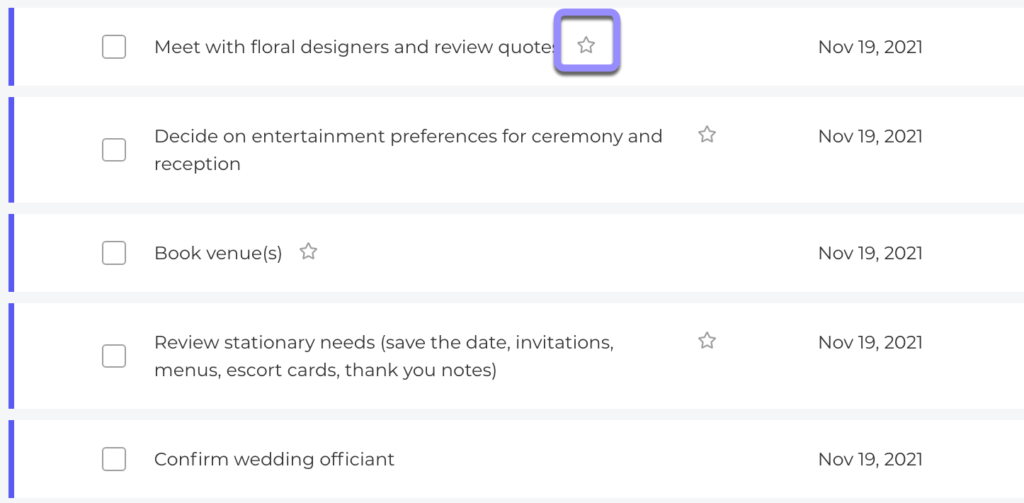
Which tasks are showing in the client portal?
The quick way to see which tasks your client can see and comment on is to look for the star icon next to the task name. Remember, the default is to NOT show tasks to your client unless you specifically add them,
Pretty simple.
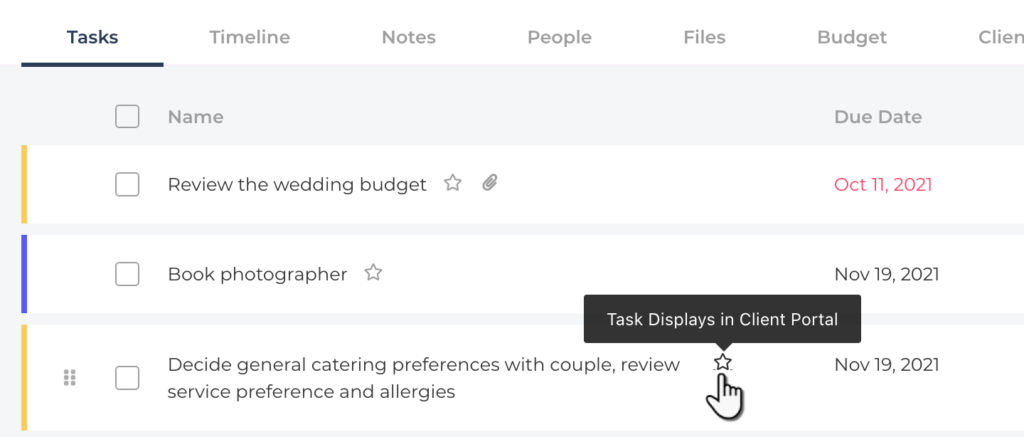
You can also pop over to the client portal itself and see exactly what your client sees. Again, you have two ways to do this.
Method 1: To open the client portal from the task list, just click on the star icon beside a task. You’ll see these star icons alongside tasks you’ve already added to the portal.
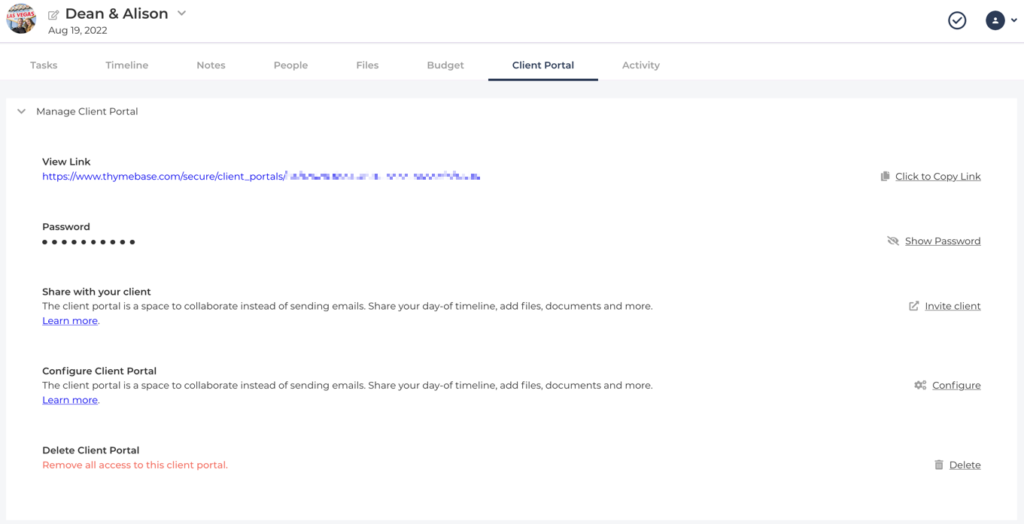
Method 2: Or, navigate over to the client portal tab in your event. There, you’ll see a “View Link” you can click to open the client portal: