Think of a tag as a way to categorize a timeline item. It makes for easy filtering and grouping of related items. Using tags, you can quickly filter your timeline to focus on the specific items related to a vendor, client, event segment, or anything else you can think of. And you can also share these focused versions of your timeline with the people who need to only see specific items, rather than the entire event schedule.
For example, you might have some items that are relevant to your client, but don’t matter to other vendors. Tags let you share one timeline with your client and another timeline with vendors, without having to build two entirely different timelines yourself.
Here’s how:
How To Add Tags On A Timeline
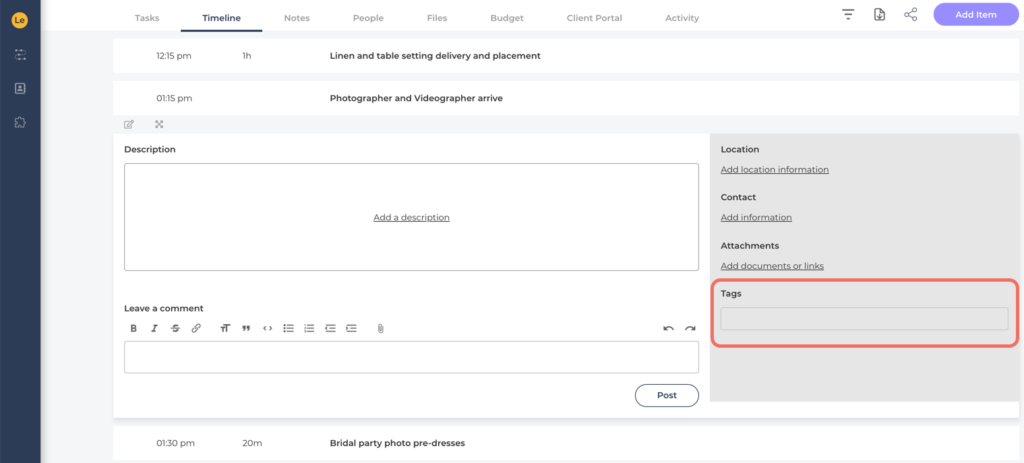
Expand a timeline item. You’ll see the “tags” field:
Next, type in your tag. To save the tag, press return or enter.
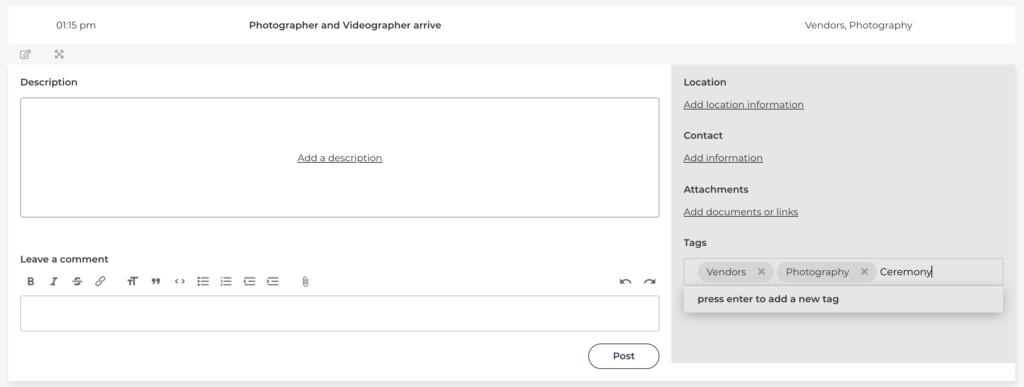
ThymeBase remembers your tags for future use and will autofill when you next begin typing.
How To Filter Your Timeline By Tags
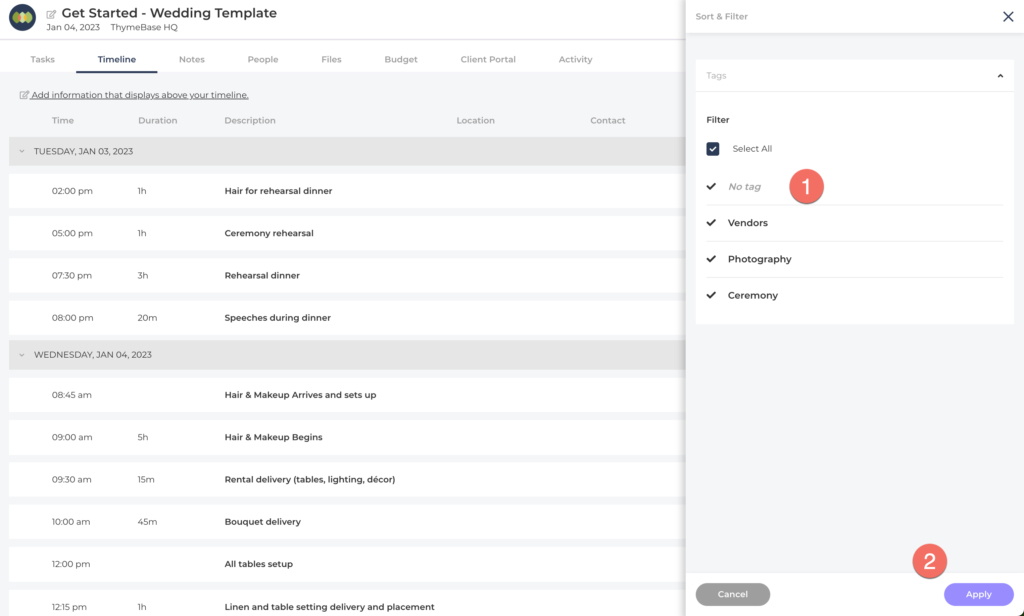
Once you’ve added tags to your event timeline, it’s pretty straightforward to filter the timeline. First, click on the filter & sort icon:
Then, select the tags you’d like to see (or uncheck the tags you’d like to hide) and click the apply button.
Your timeline will update according to your filters.
Related: How To Only Show Tagged Timeline Items In The Client Portal
Pro-Tip: You don’t need to add tags to every item. The no tag option lets you use filtering on untagged items.